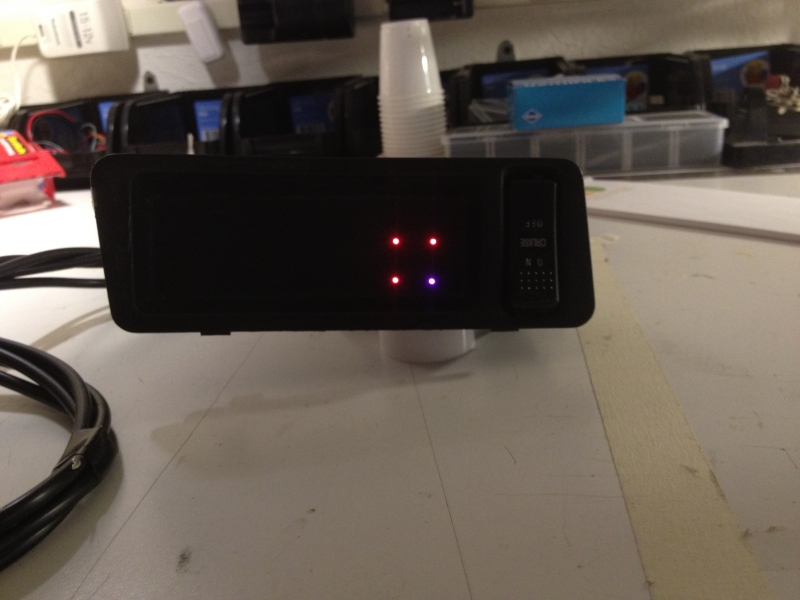
Display Example Using Fiber Optic Cable
So Here is an alternate mounting idea for the retro fit LED status lights using fiber optic cable.
The fiber optic cable used in this example was qty 4 - three foot lengths of Toslink fiber optic audio patch cords. You can order them from www.monoprice.com for like $3 apiece. In this example I'm abusing my very expensive Monster Toslink cable - which is no better than what you can get from monorprice.
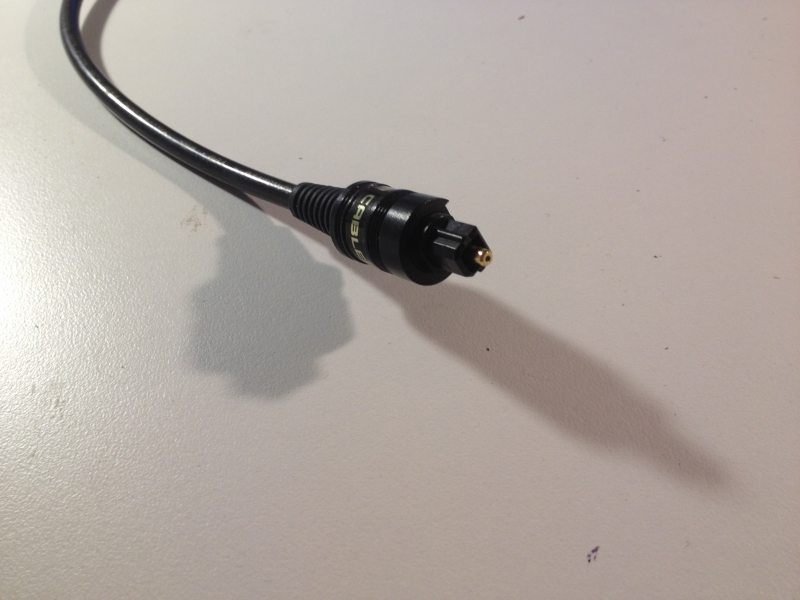
If you need extra mounting depth OR you want to have the 4 ends of the fiber cable very tightly grouped together- you can strip away the plastic end connectors.
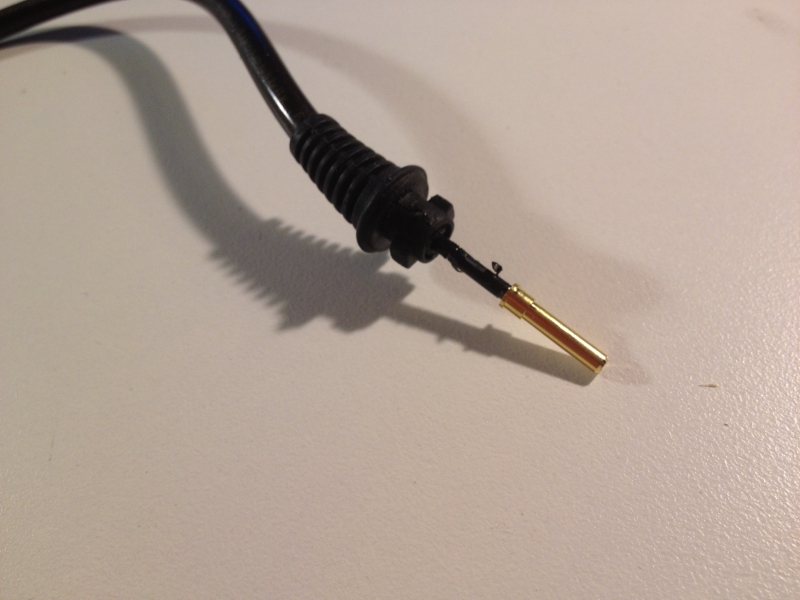
In this example - I drilled four small holes into the cruise switch tray. I did not strip away the ends in this mounting example. The depth of the plastic shield relative to the tip was just right for mounting to the back side of the tray below.
This would NOT be a good place to mount the fiber optic ends of the cable because of the directionality of the cable. It has a very narrow field of view. A better place for the fiber cable would be directly in the console or the bezel immediately around the console so that the cable ends face the driver. The console tray still shows how small the fiber holes are though.
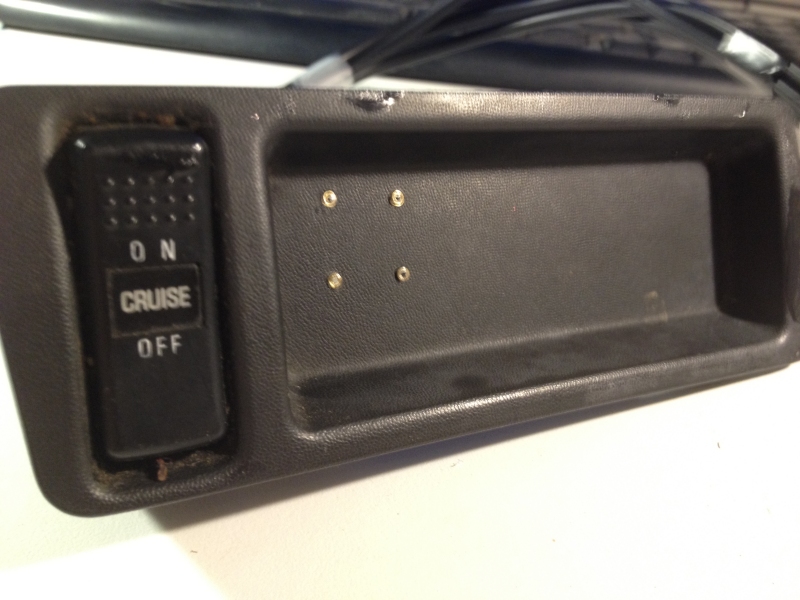
The other end of the cables are untouched.
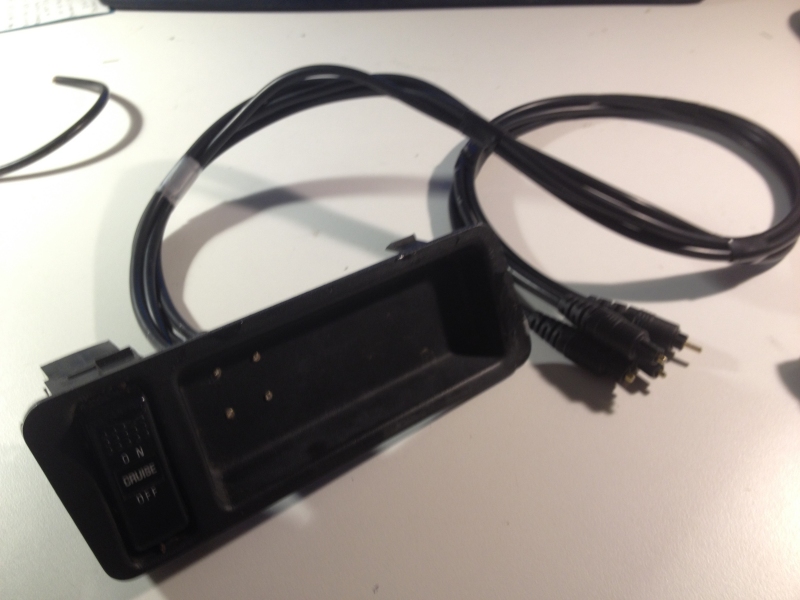
The back side showing how the fiber cable was epoxied to the back of the console tray and also my quick hack duct tape tubes to temporarily provide a way slide the LED status lights into a stable position so they butt up against the end of the fiber optic cable. Something more permanent is needed here.

and some pictures of what it looks like....
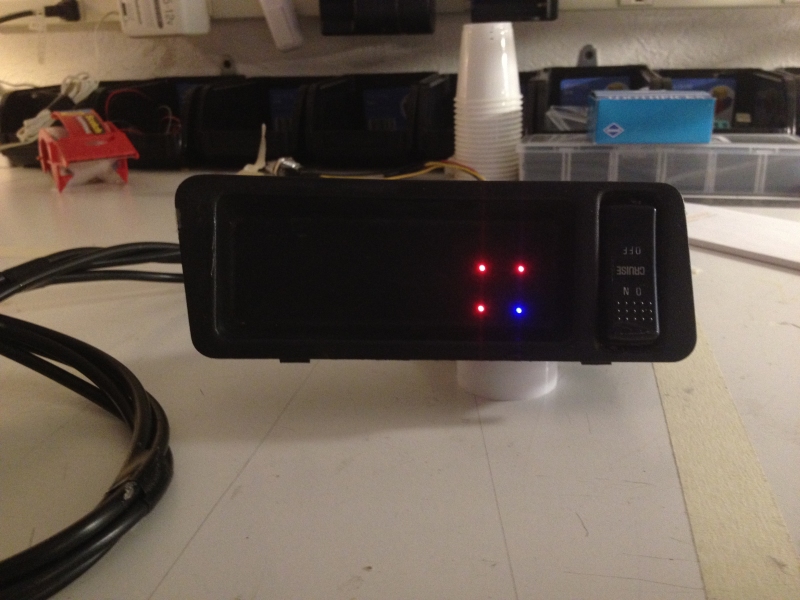
another pic...
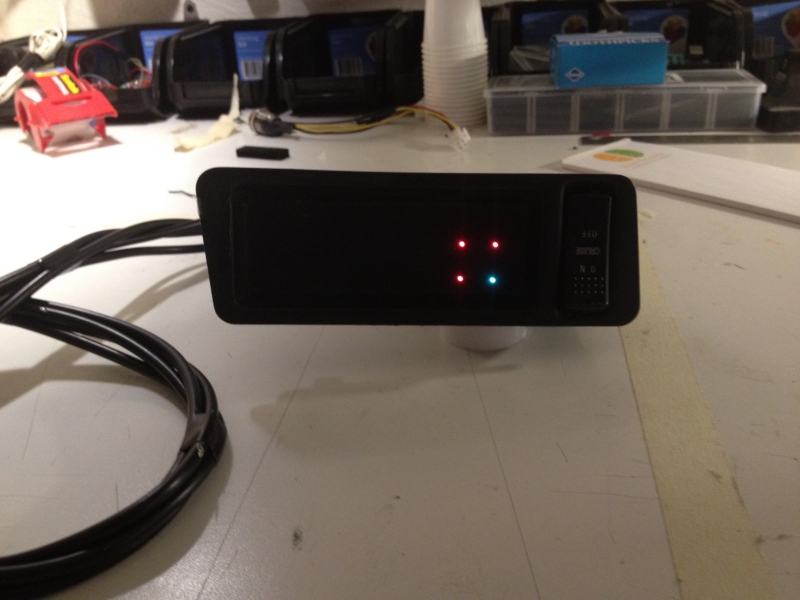
another pic...